WELCOME TO YOUR CREATIVE ESCAPE
Easy Coloring Tips for Beginners: 10 Simple Tricks to Make Every Page Look Amazing
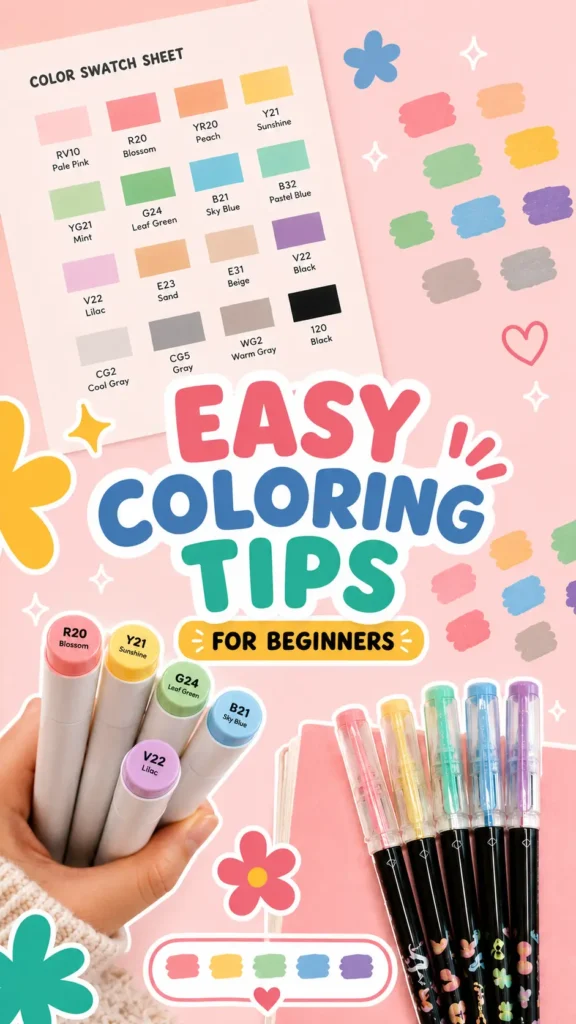
Have you ever opened a beautiful coloring book, picked up your markers, and wondered, “Where do I even start?”
If so, you’re not alone.
Many beginners worry about choosing the right colors, staying inside the lines, or making their finished pages look as polished as the ones they see on social media. The good news is that coloring isn’t about perfection. It’s about relaxing, expressing your creativity, and enjoying the process one page at a time.
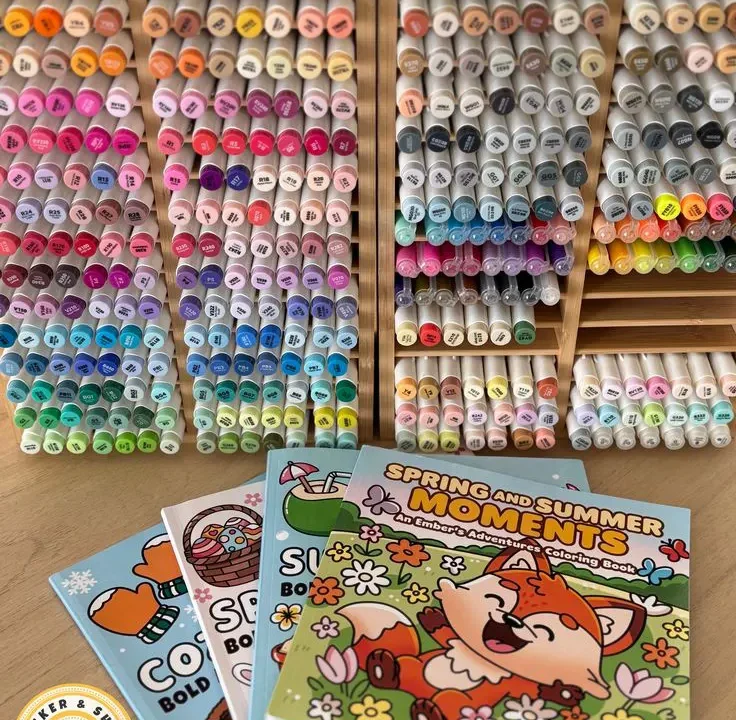
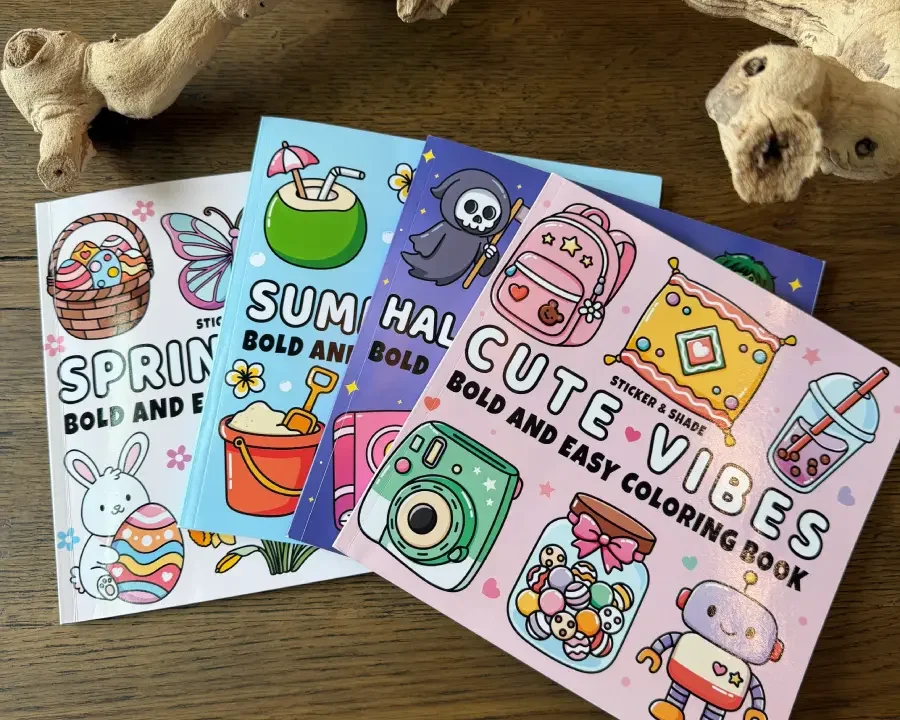
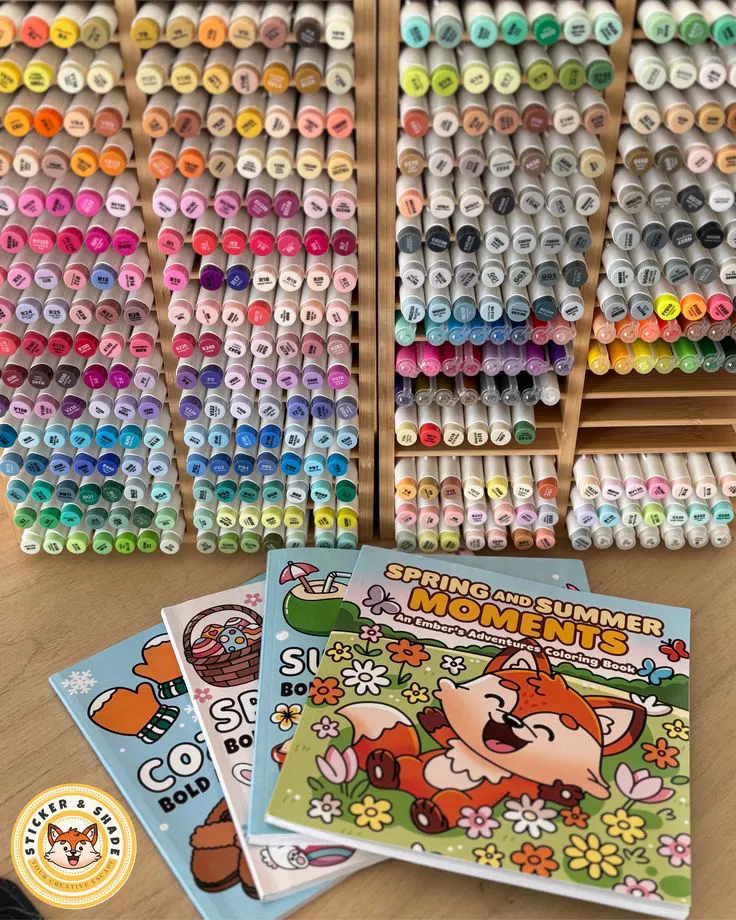
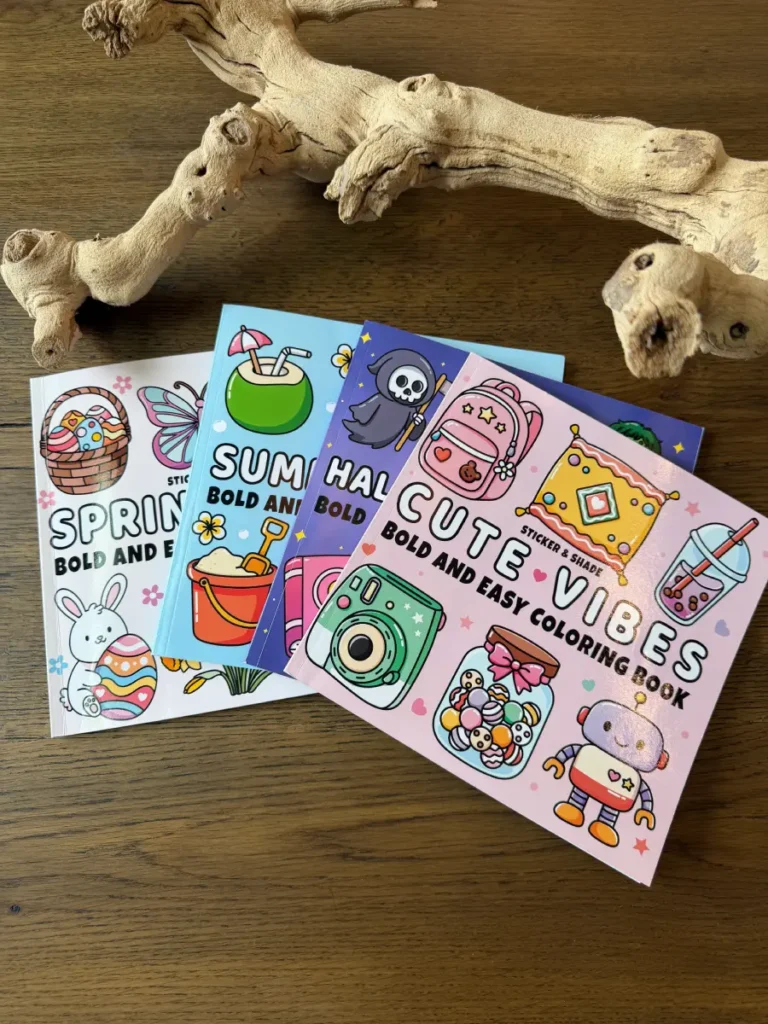
Whether you’ve just picked up your first adult coloring book, recently discovered the joy of a Bold & Easy Coloring Book, or simply want to improve your skills, a few simple techniques can make coloring easier and more enjoyable.
In this guide, we’ll share our favorite coloring tips for beginners, from choosing the right supplies to avoiding common mistakes with alcohol markers. You’ll also learn easy shading techniques, color selection tips, and practical tricks that help every page look its best, even if you’ve never colored before.
So grab your favorite coloring supplies, settle into a cozy spot, and let’s get started.
Before You Start: The Best Coloring Supplies for Beginners
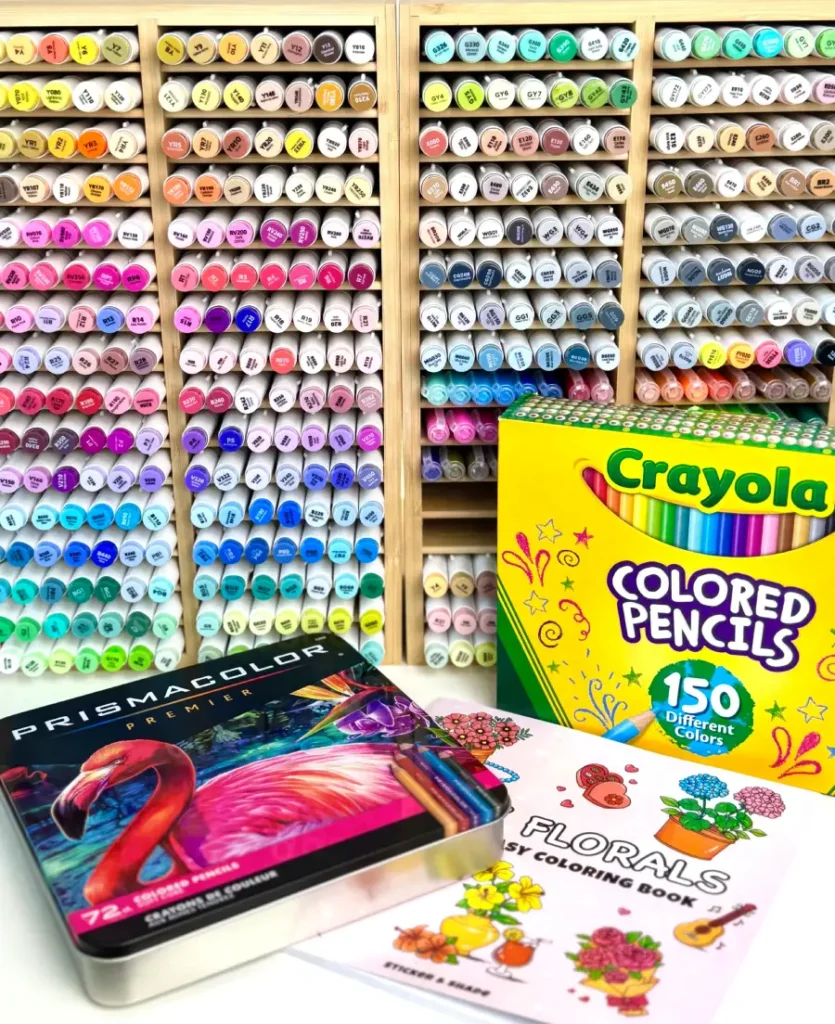
One of the biggest misconceptions about coloring is that you need expensive art supplies to create beautiful pages.
The truth? You don’t.
A small collection of quality tools is more than enough to create vibrant, relaxing artwork while you build your confidence.
Here’s a quick comparison of the most popular coloring tools.
| Coloring Tool | Best For | Beginner Friendly |
|---|---|---|
| Alcohol markers | Smooth, vibrant color | ⭐⭐⭐⭐⭐ |
| Colored pencils | Shading and blending | ⭐⭐⭐⭐☆ |
| Gel pens | Highlights and details | ⭐⭐⭐⭐☆ |
| Acrylic markers | Bold accents and decorative touches | ⭐⭐⭐⭐☆ |
| Crayons | Casual coloring and kids | ⭐⭐⭐☆☆ |
Pro Tip
If you’re just getting started, don’t worry about owning dozens of colors. A small set of 12 to 24 markers or colored pencils is plenty for creating beautiful pages. As your confidence grows, you can always expand your collection.
1. Start With Bold and Simple Coloring Pages
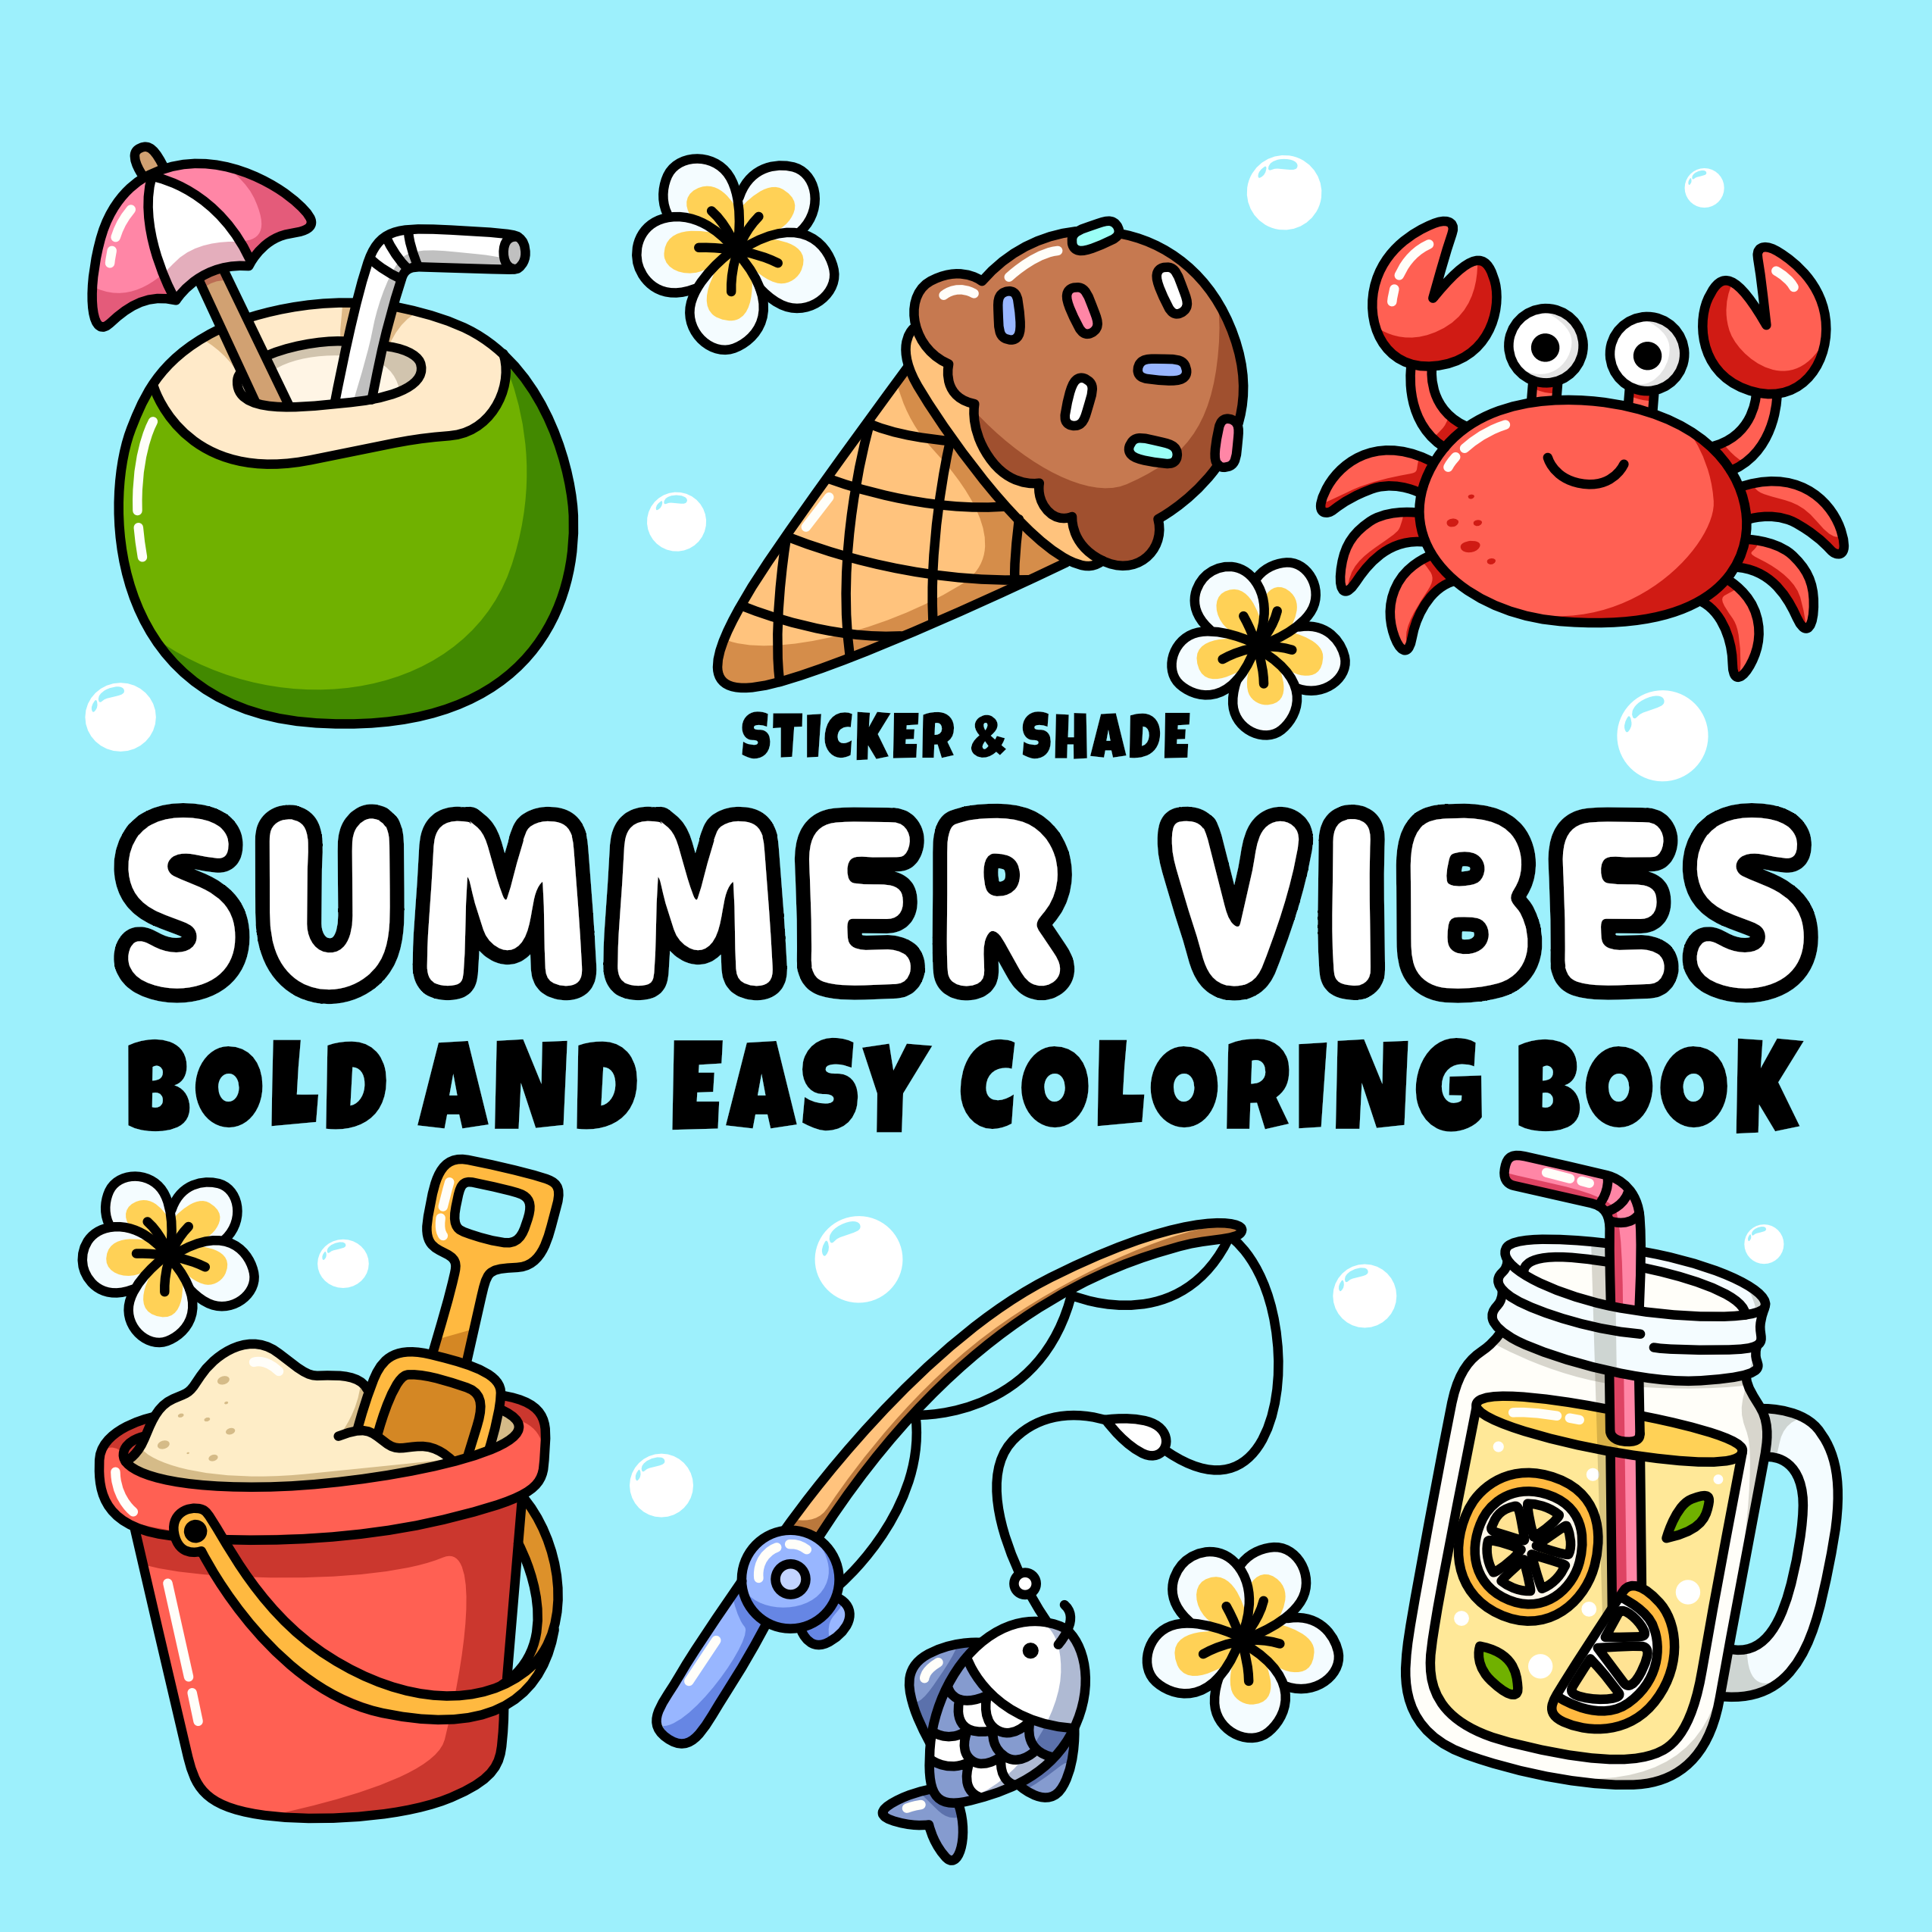
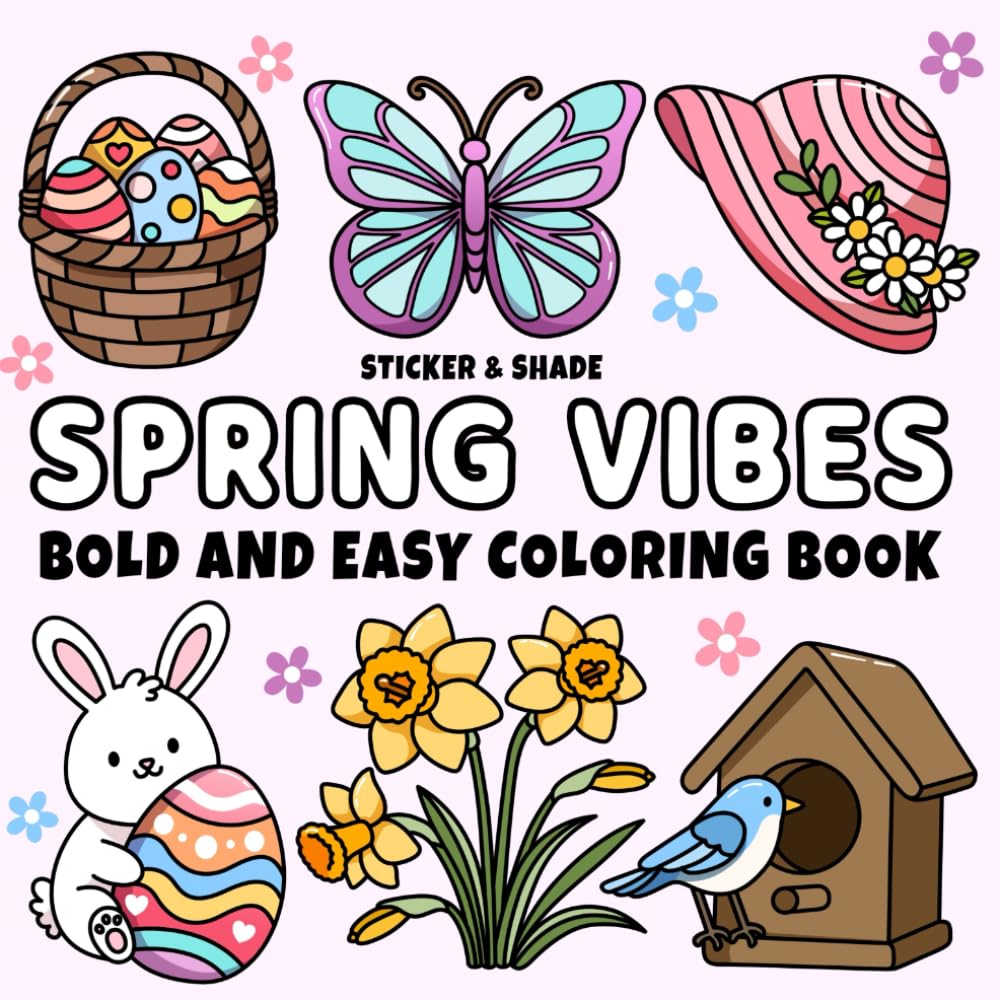
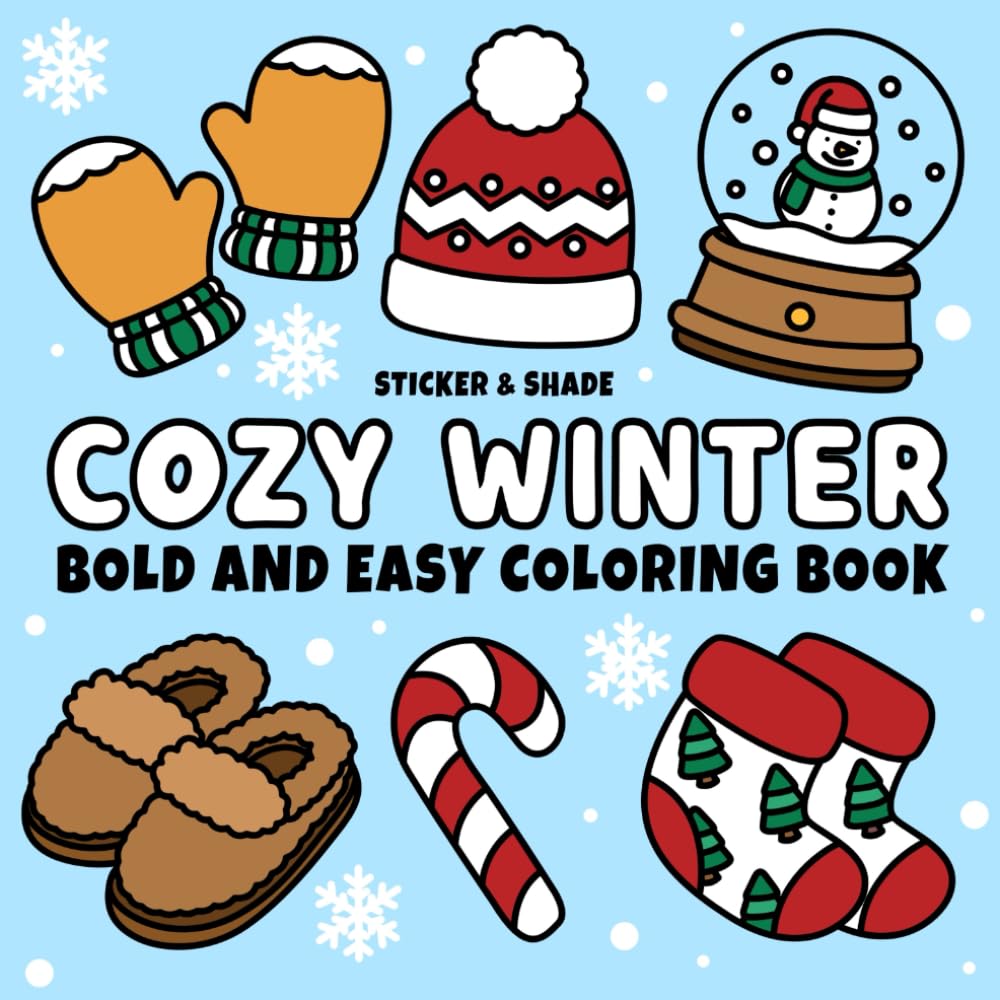
One of the fastest ways to enjoy coloring is to choose illustrations that match your skill level.
Many beginners accidentally start with extremely detailed designs filled with tiny flowers, intricate mandalas, or complex patterns. While these pages can be beautiful, they often feel overwhelming when you’re still learning.
Instead, look for coloring books with:
- Thick, bold outlines
- Larger coloring spaces
- Simple, recognizable illustrations
- Clean, uncluttered layouts
These designs are easier to finish, less stressful to color, and help you practice your techniques without feeling frustrated.
That’s one of the reasons Bold & Easy Coloring Books have become so popular. Their simple illustrations allow you to focus on enjoying the experience rather than worrying about tiny details or perfectly controlled marker strokes.
The more pages you complete, the more naturally your coloring skills will improve.
Quick Tip
Finished pages build confidence. Don’t be afraid to start with simple designs. Every page teaches you something new.
2. Create a Color Swatch Sheet First
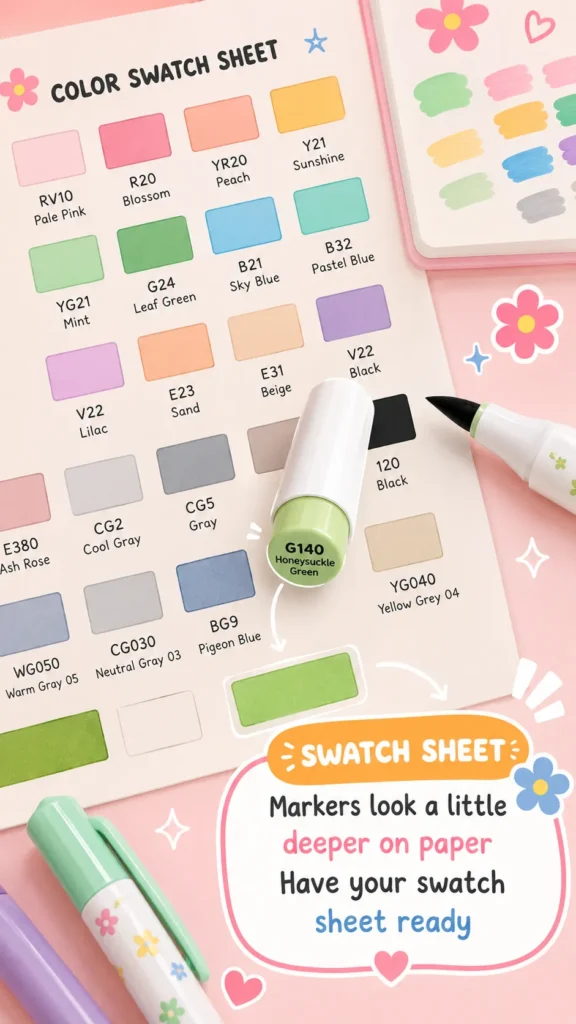
This is one of the easiest coloring tips you’ll ever learn, and one you’ll probably wish you had discovered sooner.
The color printed on a marker cap or pencil barrel rarely matches the final color on paper.
Some colors dry darker.
Others dry lighter.
Different paper types can also affect how the ink appears.
That’s why experienced colorists almost always create a color swatch chart before starting a new coloring book.
A simple swatch sheet lets you:
- See the true color once it dries
- Compare similar shades
- Build color palettes more easily
- Avoid unexpected surprises halfway through a page
Creating one only takes a few minutes, but it can save hours of frustration later.
How to Make a Color Swatch Sheet
- Draw small squares or circles on a sheet of paper.
- Color each square using one marker or pencil.
- Write the color name or number underneath.
- Allow everything to dry completely.
- Keep the sheet with your coloring supplies for future reference.
You’ll soon find yourself reaching for your swatch sheet before every coloring session.
3. Keep Your Color Palette Simple
One of the most common beginner mistakes is trying to use every beautiful color in the marker case.
Instead, limit yourself to just four to six colors for each page.
Using a smaller palette creates harmony, makes color choices easier, and gives your finished artwork a more polished appearance.
If you’re unsure where to begin, try one of these beginner-friendly palettes.
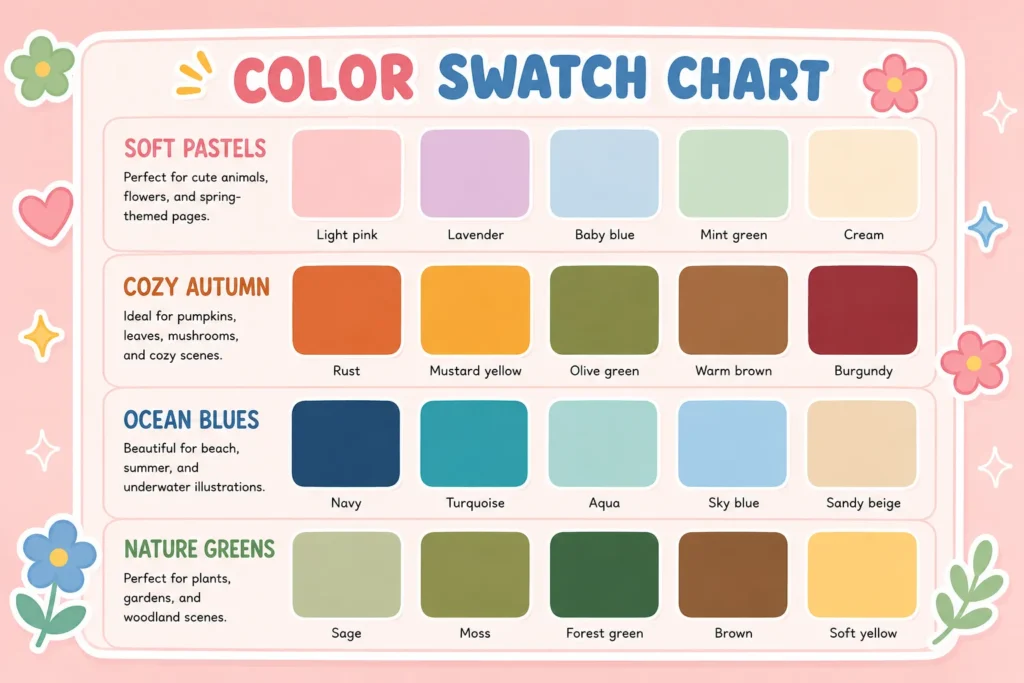
Soft Pastels
- Light pink
- Lavender
- Baby blue
- Mint green
- Cream
Perfect for cute animals, flowers, and spring-themed pages.
Cozy Autumn
- Rust
- Mustard yellow
- Olive green
- Warm brown
- Burgundy
Ideal for pumpkins, leaves, mushrooms, and cozy scenes.
Ocean Blues
- Navy
- Turquoise
- Aqua
- Sky blue
- Sandy beige
Beautiful for beach, summer, and underwater illustrations.
Nature Greens
- Sage
- Moss
- Forest green
- Brown
- Soft yellow
Perfect for plants, gardens, and woodland scenes.
Choosing a small palette also makes it easier to practice shading because you’ll naturally work with colors that complement one another.
4. Color One Section at a Time
When you’re excited to finish a page, it’s tempting to jump from one area to another.
Instead, focus on completing one small section before moving on.
For example, if you’re coloring a flower, finish all the petals before starting the leaves.
If you’re coloring a cozy kitchen scene, complete the mug before moving to the table.
Working this way helps you:
- Stay organized
- Keep your colors consistent
- Avoid forgetting which shades you’ve already used
- Create smoother results with alcohol markers
It also makes the entire process feel calmer and less overwhelming.
Many people find that coloring section by section turns the activity into a relaxing mindfulness exercise rather than something they need to rush.
Remember, there’s no prize for finishing quickly.
The joy comes from slowing down and enjoying every stroke.
5. Learn How to Prevent Marker Streaks
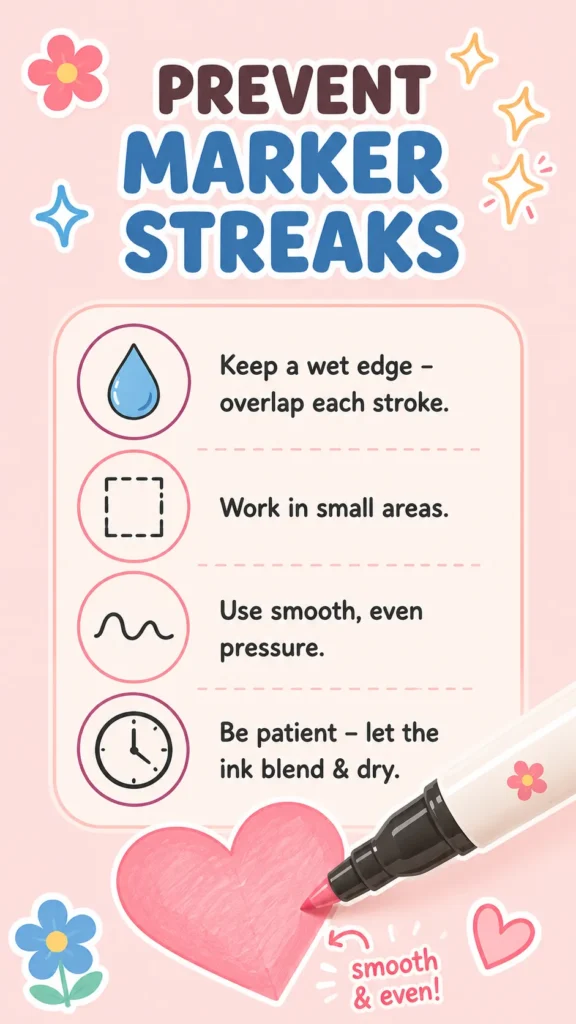
If you’re using alcohol markers, you’ve probably noticed streaks appearing in larger areas.
Don’t worry, this happens to everyone when they’re starting out.
Streaks usually occur because the ink dries before your next stroke overlaps it.
Fortunately, the solution is simple.
Keep a Wet Edge
Instead of coloring random parts of a shape, begin at one side and work steadily across while the ink is still wet.
Each new stroke should slightly overlap the previous one.
This allows the ink to blend together naturally and creates a much smoother finish.
Work in Small Areas
Large spaces can dry quickly.
Breaking them into smaller sections gives you more control and reduces visible lines.
Use Smooth, Even Strokes
There’s no need to press hard.
Let the marker glide gently across the paper using consistent pressure.
The alcohol ink will do most of the work for you.
Be Patient
Many alcohol markers continue blending for a few seconds after you’ve finished coloring.
Instead of immediately going back over an area, wait for it to dry first.
You may find the streaks soften on their own.
Beginner Reminder
Even experienced artists sometimes see minor streaks.
Don’t let them discourage you. As your technique improves, smoother coloring will become second nature.
6. Stay Just Inside the Lines
One of the most surprising things about alcohol markers is that the ink doesn’t always stay exactly where you place it.
Because alcohol ink naturally spreads through the paper fibers, coloring directly on the outline can sometimes cause the color to bleed past the edges.
A simple trick is to color just inside the line instead.
Leave a tiny gap, about the width of a pencil tip, between your marker and the outline. As the ink settles, it will naturally spread outward and often fill that space on its own.
It might feel strange at first, but this small adjustment can make your finished pages look much cleaner.
If you accidentally color outside the lines, don’t worry. Every colorist does it occasionally. Instead of trying to fix every tiny mistake, focus on enjoying the process. Chances are, nobody else will even notice.
Quick Tip
Rotate your coloring book as you work. Turning the page so your hand is in a comfortable position makes it much easier to follow curved lines with better control.
7. Add Simple Shading for More Depth
One of the easiest ways to make your coloring pages stand out is by adding a little shading.
The good news is that you don’t need advanced artistic skills or dozens of markers to do it.
A simple two-color approach is more than enough.
Choose a light color for your base, then pick a slightly darker shade from the same color family.
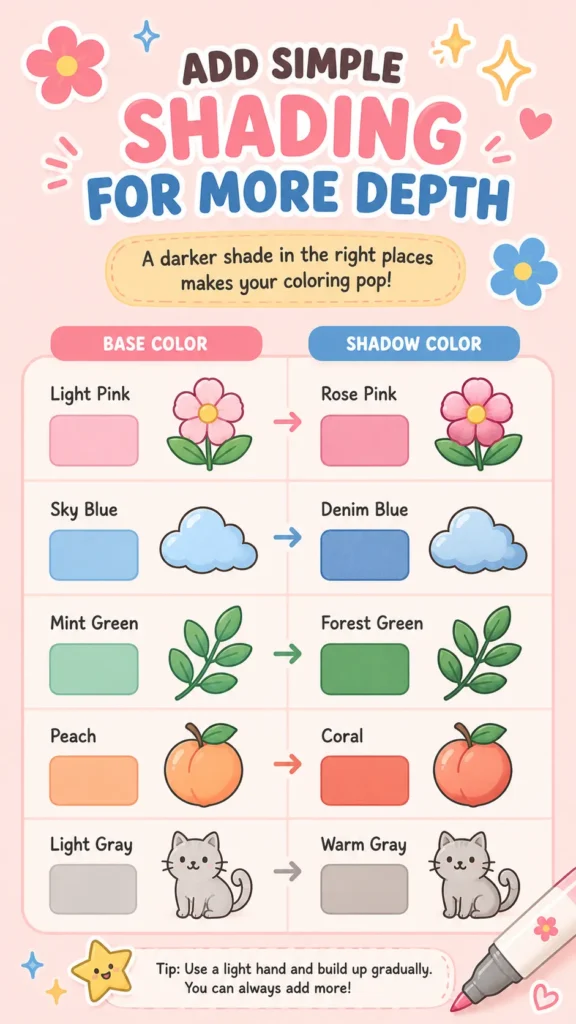
For example:
| Base Color | Shadow Color |
|---|---|
| Light Pink | Rose Pink |
| Sky Blue | Denim Blue |
| Mint Green | Forest Green |
| Peach | Coral |
| Light Gray | Warm Gray |
Start by coloring the entire object with your lighter shade.
Next, imagine where shadows would naturally appear. They’re usually found:
- Around the edges
- Under overlapping objects
- Near folds in fabric
- Beneath leaves or petals
- At the bottom of rounded objects
Apply the darker shade only in those areas.
If you’d like an even softer look, lightly go back over the edge where the two colors meet with your lighter marker while they’re still slightly wet.
Don’t worry if it isn’t perfect.
Even a small amount of shading instantly gives your coloring pages more dimension and makes them feel more lifelike.
8. Blend Colors Like a Beginner
Blending sounds intimidating, but it’s actually much easier than many people think.
The secret is choosing colors that already belong together.
Instead of blending completely different colors, begin with neighboring shades.
For example:
- Light Pink → Medium Pink
- Sky Blue → Turquoise
- Pale Yellow → Golden Yellow
- Light Green → Olive Green
These combinations naturally transition into one another and are much more forgiving.
Simple Blending Method
- Color the area with your lightest shade.
- Add the darker color where you want shadows.
- While the ink is still slightly wet, go back over the edge where the colors meet using the lighter marker.
- Repeat if needed until the transition looks smooth.
Remember, subtle blending often looks more natural than dramatic gradients.
As you gain confidence, you’ll discover your own favorite color combinations.
9. Protect the Next Page from Bleed-Through
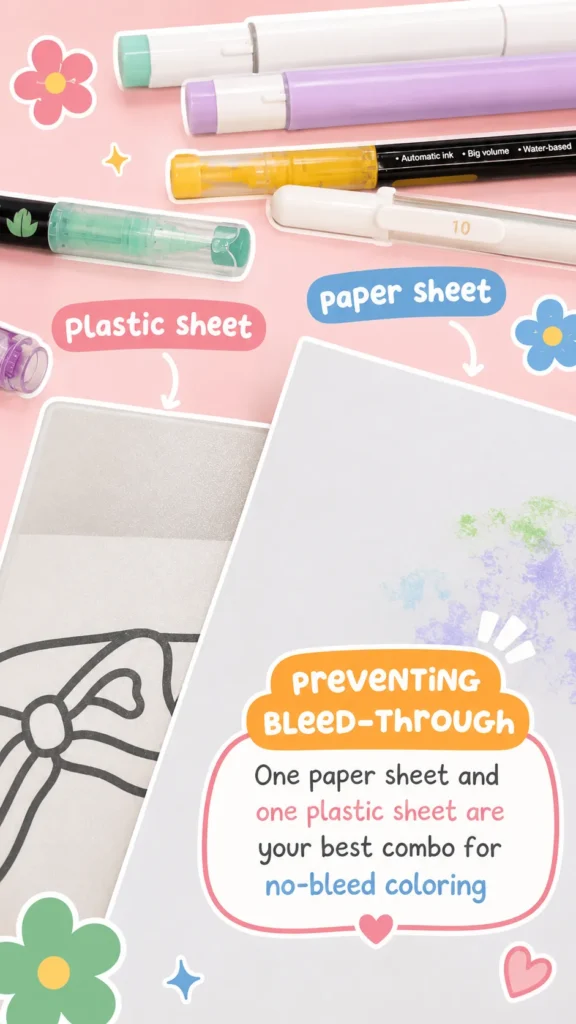
If you’ve started using alcohol markers, you’ve probably noticed that the ink often shows through to the back of the page.
This is completely normal.
Unlike water-based markers, alcohol markers are designed to soak into the paper to create their signature smooth finish.
Fortunately, bleed-through doesn’t have to ruin your coloring book.
Before you begin coloring, simply place a protective sheet behind the page you’re working on.
You can use:
- A piece of cardstock
- Thick printer paper
- A plastic divider
- A laminated sheet
- The backing board from another notebook
This simple habit prevents ink from transferring onto the next illustration and gives you peace of mind while coloring.
Many experienced colorists keep a dedicated “marker shield” tucked inside every coloring book.
Good to Know
Bleed-through is different from ghosting.
Ghosting is when you can see the ink from the other side of the paper, but it hasn’t actually transferred through.
Bleed-through means the ink has soaked completely through the page.
Understanding the difference can help you know whether your paper is performing normally.
10. Find Your Own Coloring Style
One of the best parts of coloring is that there’s no single “correct” way to do it.
Scroll through Instagram, Pinterest, or YouTube, and you’ll see hundreds of different styles.
Some artists create incredibly realistic shading. Others prefer bright, flat colors.
Some love bold rainbow palettes. Others enjoy soft, muted tones.
Every approach is valid.
One of the biggest mistakes beginners make is comparing their very first pages to artists who’ve been coloring for years.
Instead, compare today’s page to the one you colored last week. That’s where you’ll see real progress. Your personal style will naturally develop over time.
You might discover that you love:
- Bright, cheerful colors
- Cozy neutral palettes
- Minimal shading
- Detailed blending
- Seasonal color themes
- Whimsical, playful combinations
There are no rules saying you have to color realistically.
Purple leaves, blue cats, pink pumpkins, and rainbow mushrooms are all welcome in the coloring world.
The most beautiful pages are often the ones that reflect your own creativity.
Common Beginner Coloring Mistakes (And How to Avoid Them)
Every colorist makes mistakes when they’re learning.
The important thing is recognizing them early so you can enjoy the process even more.
| Common Mistake | Try This Instead |
|---|---|
| Using every color on one page | Stick to four to six colors for a more cohesive look. |
| Coloring directly on the outlines | Leave a tiny gap and let alcohol markers naturally spread. |
| Pressing too hard | Use light, even pressure for smoother coverage. |
| Skipping a color swatch sheet | Test every color before starting your page. |
| Choosing very detailed illustrations first | Begin with bold, simple designs that build confidence. |
| Trying to finish too quickly | Color one section at a time and enjoy the process. |
| Comparing your work to others | Focus on your own progress and have fun experimenting. |
Remember, every finished page teaches you something new.
Some of the best coloring discoveries happen through simple experimentation. So don’t be afraid to try a new color combination, practice a little shading, or step outside your comfort zone.
Coloring isn’t about creating perfection. It’s about creating something that makes you smile.
Bonus Coloring Tips You'll Wish You Knew Sooner
Before we move on to the most frequently asked questions, here are a few extra tips that can make your coloring sessions even more enjoyable.
- Keep a scrap piece of paper nearby to test colors before using them.
- Rotate your coloring book instead of twisting your wrist around awkward shapes.
- Take breaks during long coloring sessions to avoid hand fatigue.
- Store your markers horizontally so both tips stay evenly saturated.
- Leave tiny white highlights to make shiny objects look more realistic.
- Add small gel pen details after your page is finished for extra sparkle.
- Don’t be afraid to experiment. Some of your favorite color combinations will happen by accident.
- Most importantly, remember that coloring is meant to be relaxing. There are no grades, no deadlines, and no wrong answers.
Whether you’re working through your very first adult coloring book easy collection or filling your tenth Bold & Easy Coloring Book, every page is another opportunity to slow down, unwind, and enjoy a creative moment just for yourself.
Frequently Asked Questions About Coloring for Beginners
Can I Start Coloring Even If I Don't Have Many Markers?
Absolutely!
You don’t need a huge collection of markers or expensive art supplies to enjoy coloring. In fact, many experienced colorists recommend starting with just 12 to 24 colors. A smaller collection helps you learn how different shades work together and encourages you to build simple, cohesive color palettes.
As your confidence grows, you can gradually expand your collection with new colors that suit your personal style.
Remember, creativity comes from how you use your colors, not how many you own.
Why Do My Alcohol Markers Leave Streaks?
Streaks are one of the most common challenges beginners face, and they’re completely normal.
Alcohol markers dry very quickly. If one stroke dries before the next overlaps it, visible lines can appear.
To reduce streaks:
- Work in one small section at a time.
- Keep a “wet edge” by slightly overlapping each stroke.
- Use smooth, even pressure instead of pressing hard.
- Let the ink settle before deciding whether another layer is needed.
With a little practice, your coloring will become noticeably smoother.
My Colors Keep Bleeding Outside the Lines. What Can I Do?
Alcohol ink naturally spreads through paper fibers, so this is perfectly normal.
Instead of coloring directly on the outline, try stopping just slightly inside the line. The ink will usually spread enough to reach the border without overflowing.
If you occasionally color outside the lines, don’t be discouraged. Every colorist does it from time to time, and most small mistakes are barely noticeable once the page is finished.
How Do I Make My Coloring Look Less Flat?
Adding depth doesn’t have to be complicated.
Here are a few easy ways to make your coloring pages feel more dimensional:
- Use two shades of the same color.
- Add darker tones near edges, folds, or underneath overlapping objects.
- Leave tiny white areas for natural highlights.
- Blend similar colors together for smoother transitions.
- Add white gel pen highlights after your page is complete.
Even subtle shading can make a big difference.
Why Do Colors Look Darker on Paper Than on the Marker Cap?
Marker caps are designed to give you a general idea of the color, but they aren’t always an exact match.
The final color depends on several factors, including:
- The type of paper
- How much ink is applied
- Whether the ink has fully dried
That’s why creating a color swatch chart is such a helpful habit. It shows you exactly how each color will look before you start coloring.
What Is a Colorless Blender Marker?
A colorless blender marker doesn’t contain white ink.
Instead, it’s filled with a clear alcohol solution that moves and redistributes existing ink.
You can use it to:
- Soften harsh edges
- Blend two similar colors
- Lighten small areas
- Create simple textures and highlights
While it’s a useful tool, it’s not essential for beginners. You can achieve beautiful results with a basic set of alcohol markers alone.
What If My Marker Bleeds Through the Page and Ruins the Next One?
Bleed-through is completely normal when using alcohol markers.
Before you start coloring, place a sheet of cardstock, thick paper, or a plastic divider behind the page you’re working on. This protects the next illustration from accidental ink transfer.
If your coloring book is printed on one side of each page, bleed-through usually isn’t a problem, making it an excellent choice for marker users.
Can I Mix Alcohol Markers, Colored Pencils, Gel Pens, and Acrylic Markers?
Yes! Mixing different coloring tools is a great way to add more depth and personality to your artwork.
A simple layering approach might look like this:
- Alcohol markers for smooth base colors.
- Colored pencils for shading and fine details.
- Gel pens for highlights and decorative accents.
- Acrylic markers for bold details that sit on top of other layers.
Experimenting with different combinations is part of the fun, and you’ll soon discover which techniques you enjoy most.
How Should I Store My Markers So They Don't Dry Out?
Proper storage can significantly extend the life of your markers.
For best results:
- Store them horizontally whenever possible.
- Make sure both caps are tightly closed after each use.
- Keep them away from direct sunlight and excessive heat.
- Store them in a cool, dry place.
Taking a few extra seconds to store your markers properly can help keep the ink flowing smoothly for much longer.
How Do You Use Acrylic Markers in Coloring Books?
Acrylic markers are perfect for adding bold accents, decorative details, and finishing touches to your coloring pages.
Because they sit on top of the paper instead of soaking into it like alcohol markers, they work especially well for highlights and layered designs.
Here are a few simple tips:
- Allow each layer to dry completely before adding another color.
- Use light pressure to keep your lines smooth and even.
- Add decorative details like flowers, stars, lettering, or patterns after you’ve finished coloring the main image.
- Wait until the page is fully dry before closing your coloring book to prevent smudging.
Acrylic markers pair beautifully with alcohol markers and colored pencils, making them a fun addition once you’re comfortable with the basics.
What Are the Best Adult Coloring Books for Beginners?
The best beginner-friendly coloring books feature bold outlines, larger coloring spaces, and simple illustrations that are easy to complete.
These designs help you focus on enjoying the process rather than worrying about tiny details or complex techniques.
That’s exactly why Bold & Easy Coloring Books have become a favorite among beginners. Their clean, spacious illustrations make it easier to practice new coloring techniques while creating pages you’ll be proud to display.
Whether you’re looking for a relaxing evening activity or a creative way to unwind after a busy day, choosing an adult coloring book easy enough to build confidence is one of the best ways to start your coloring journey.
Final Thoughts: Every Great Colorist Starts Somewhere
Every beautifully colored page you’ve admired online started with someone picking up their very first marker.
No one begins as an expert.
The wonderful thing about coloring is that every page helps you improve without feeling like practice. You’ll naturally become more confident choosing colors, adding simple shading, and discovering techniques that fit your own creative style.
Most importantly, remember that coloring isn’t about creating perfection.
It’s about slowing down, relaxing, and enjoying a creative moment that’s entirely your own.
Whether you love bright rainbows, cozy autumn palettes, soft pastels, or realistic color schemes, there’s no right or wrong way to color.
If you’re just getting started, choosing a Bold & Easy Coloring Book is one of the simplest ways to build confidence while enjoying every page. With bold outlines, spacious illustrations, and beginner-friendly designs, they’re created to help you relax, have fun, and fall in love with coloring from the very first page.
So pick your favorite colors, put on your favorite playlist or podcast, and enjoy the journey.
Happy coloring!

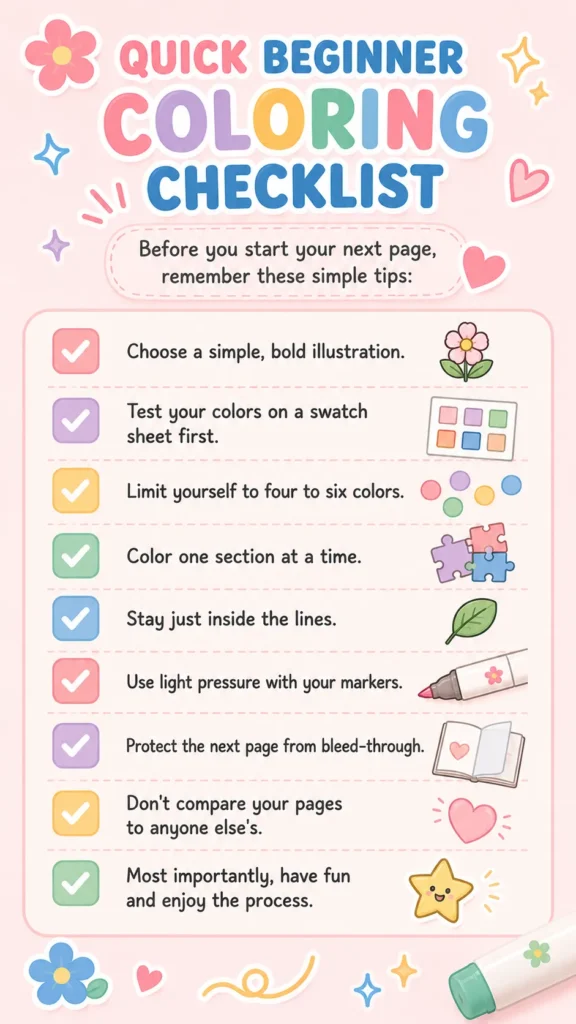
Quick Beginner Coloring Checklist
Before you start your next page, remember these simple tips:
✅ Choose a simple, bold illustration.
✅ Test your colors on a swatch sheet first.
✅ Limit yourself to four to six colors.
✅ Color one section at a time.
✅ Stay just inside the lines.
✅ Use light pressure with your markers.
✅ Protect the next page from bleed-through.
✅ Don’t compare your pages to anyone else’s.
✅ Most importantly, have fun and enjoy the process.

Get 14 FREE Coloring Pages — Instantly!
Join our email list and unlock a bundle of beautiful designs right away! Plus, enjoy exclusive pages, creative tips, and special offers — all delivered straight to your inbox. Let the coloring fun begin!